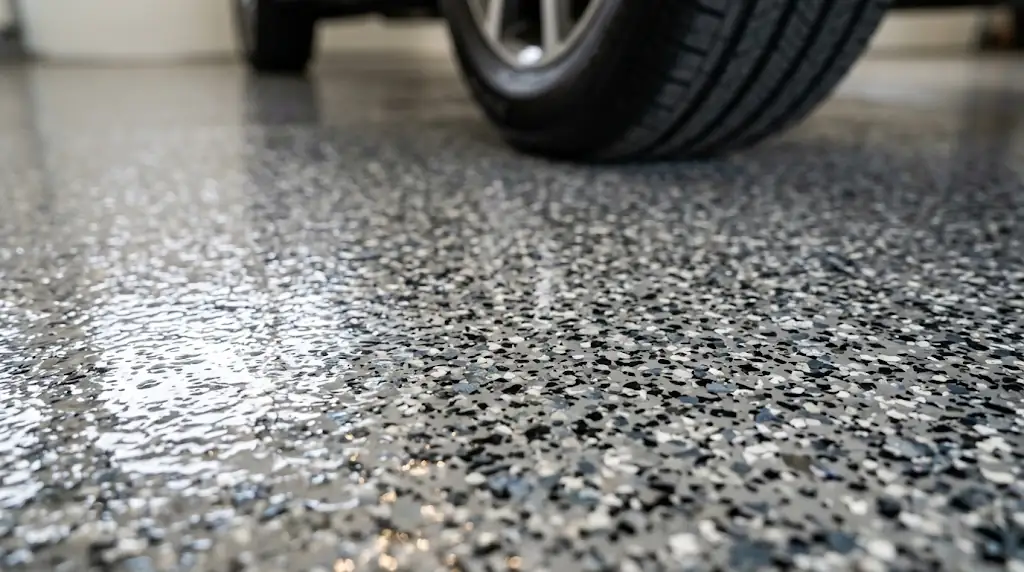
A professional epoxy flooring installation in North Texas takes between one and two days of active labor, followed by a mandatory 24- to 72-hour curing period. While the physical application is highly efficient, rushing the concrete preparation or ignoring local temperature constraints will lead to immediate coating failure.
Professional installations are methodical. Cutting corners on the timeline compromises the chemical bond. We do not negotiate with curing times. The duration of your project depends on the size of the garage, the existing condition of the concrete, and the specific chemical system being installed.
Standard Installation Timeline by Garage Size
Most residential projects are completed within two days of on-site work. The size of the footprint directly impacts the speed of the mechanical grinding process and the volume of material that must be mixed and applied.
| Project Size | Estimated Square Footage | On-Site Labor Time |
| Single-Car Garage | 200 – 250 sq. ft. | 1 Day |
| Two-Car Garage | 400 – 500 sq. ft. | 1 to 2 Days |
| Three-Car Garage | 600 – 750 sq. ft. | 2 Days |
| Commercial Space | 2,000 – 10,000 sq. ft. | 3 to 5 Days |
Day 1: Mechanical Surface Preparation (3 to 6 Hours)
The most critical step of an epoxy installation takes three to six hours. Installers do not simply clean the floor; they mechanically alter the surface. Skipping this step guarantees peeling and early failure.
- Diamond Grinding: Professional crews use heavy planetary floor grinders equipped with diamond tooling. This step removes the top layer of the concrete, eradicating decades of oil stains, old paint, and chemical sealers. It forcefully opens the pores of the concrete to ensure proper bonding.
- Crack Chasing and Mitigation: Grinding exposes hidden micro-fractures in the slab. Installers chase these cracks with a specialized diamond blade and fill them with a rapid-curing polyurea joint filler to create a perfectly level surface.
- Moisture Vapor Barrier (MVB): In North Texas, Day 1 often concludes with the application of a heavy-duty MVB primer. This specialized coating seals the porous concrete and prevents hydrostatic pressure from pushing groundwater up through the slab, a primary cause of epoxy delamination.
Day 2: Coating Application and Topcoat (4 to 6 Hours)
The second day is strictly dedicated to the chemical application. Crews manage strict time windows to ensure the material does not cure inside the mixing buckets before it is applied to the floor.
- Base Coat Application: Installers mix and spread a 100% solids epoxy base coat across the entire floor using specialized squeegees and rollers.
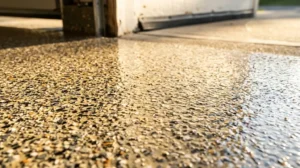
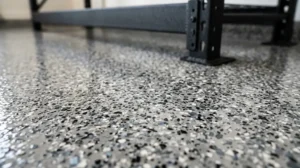
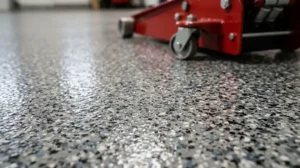
- Full Broadcast Flake: Before the base coat cures, the installation team broadcasts decorative vinyl flakes into the wet resin. They apply flakes to the point of rejection, ensuring not a single millimeter of the base epoxy remains visible.
- Scraping and Vacuuming: Once the epoxy cures and locks the flakes into place, the excess loose flakes are aggressively scraped with a flat metal blade and vacuumed away. This creates a uniform, slip-resistant texture.
- Clear Topcoat Application: A UV-stable polyaspartic clear topcoat is rolled over the flakes to seal the floor. This layer provides absolute chemical resistance, protects against hot-tire pickup, and prevents the Texas sun from yellowing the resin.
The Curing Process: When Can You Use the Garage?
Installation speed means nothing if the floor is ruined by early traffic. Curing time is non-negotiable. While a floor might feel dry to the touch, the chemical cross-linking beneath the surface takes weeks to finalize. The floor reaches different stages of durability over a strict 30-day period.
| Curing Stage | Time Required | Allowed Activity |
| Initial Cure | 24 Hours | Light foot traffic with clean shoes. |
| Functional Cure | 48 to 72 Hours | Vehicles, rolling loads, and heavy equipment. |
| Full Chemical Cure | 30 Days | Maximum hardness and 100% chemical resistance. |
It is highly recommended to avoid mopping or wet cleaning the floor during the first 72 hours to prevent disrupting the final curing phase.
Local Factors Altering Timelines in Collin County
National averages do not account for North Texas weather and soil. Our service areas feature distinct environmental and structural challenges that can add hours or even an extra day to the standard installation timeline.
- Plano and McKinney: Older concrete in these established neighborhoods requires extensive crack mitigation. Decades of expanding and contracting soil create deep foundational fractures. Restoring the integrity of these older slabs extends Day 1 preparation times significantly.
- Frisco and Prosper: New construction homes often lack a mature moisture barrier beneath the slab. This requires the mandatory application of an MVB primer on Day 1, forcing a strict two-day installation process to allow the primer to cure overnight.
- Allen and Little Elm: Proximity to local water tables and lakes increases ambient humidity. High humidity introduces moisture into the curing process, which can extend drying times and prevent a full cure. Installations here often require strict ventilation management and scheduling around peak humidity hours.
- Celina: Rapid new construction over uncompacted soil causes immediate slab settling. Grinding out uneven concrete ridges and leveling massive control joints extends Day 1 preparation times by several hours.
The Danger of “One-Day” Installations
Many marketing campaigns aggressively push “one-day” polyurea or polyaspartic floor installations. In the North Texas climate, one-day installations carry extreme risks. Fast-curing chemicals severely limit the time the resin has to penetrate the concrete pores.
In a one-day install, contractors grind, patch, coat, and topcoat in under eight hours. The concrete is never allowed to properly off-gas. The primer is rushed and sits on top of the concrete rather than wicking deep into it. This structural flaw leads directly to delamination, bubbling, and massive hot-tire pickup failures within the first summer. A professional epoxy system requires a slow-curing primer to penetrate deep into the slab—a step that fundamentally requires an overnight cure.
A durable, lifetime garage floor cannot be rushed. It requires precise mechanical preparation, high-quality chemical resins, and strict adherence to environmental curing timelines. The minor inconvenience of parking outside for three days guarantees decades of protection against oil spills, concrete dusting, and foundational cracking.
For further reading on standard installation expectations across the industry, review this breakdown of the professional installation process.
To get a precise timeline and quote tailored to your specific concrete conditions, contact Frisco Epoxy Flooring. Head over to our contact page today to schedule your consultation and secure your installation date.